Compost at Home: Build Your Own Backyard Compost System at Home
We love talking about the compost, soils, and mulches that Full Circle Soils & Compost makes on a daily basis; however, it’s time for the backyard gardener to shine. If you are going to make your own backyard compost, let’s go over some crucial key points and the best design to make your own awesome compost right at home: The 3 Pile Backyard Compost System.
Making your own “quality” compost is a labor intensive process that takes dedication and some composting knowhow. Some of the problems one can encounter in building their backyard compost system include:
- Determining when your finished compost is ready
- Too many materials
- Not enough materials
- Wrong recipe
- Incorrect process
- Discovering a composting system that promises more than it can give
- Needing to add new materials to compost piles creating a never-ending composting process
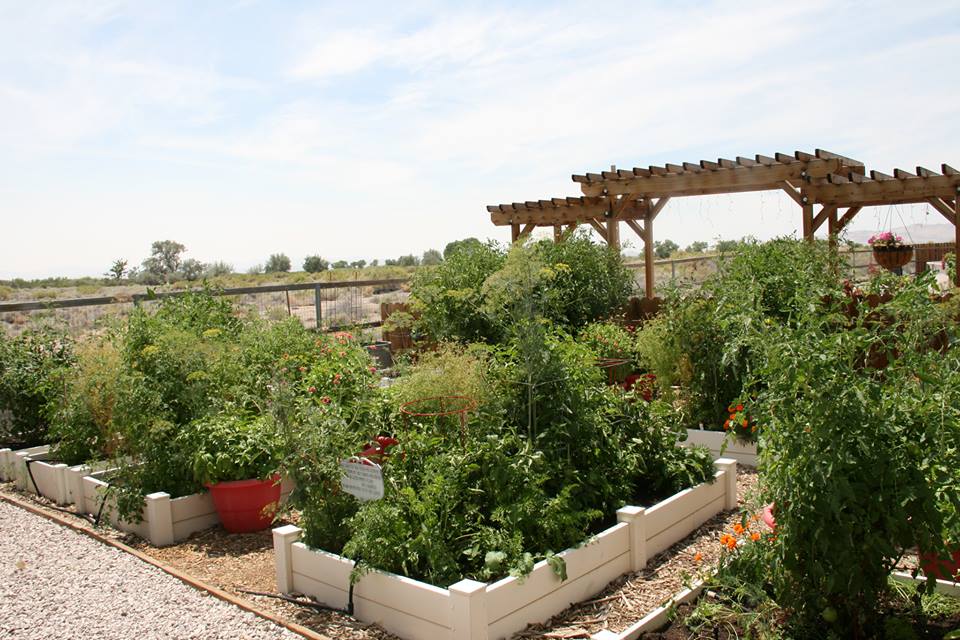
Though composting can be tricky, it’s loaded with benefits … and great nutrients. Redfin featured our homemade 3 Pile Backyard Compost System in their article, Expert Tips for Creating a Green Home. Compost systems can be built at a very low cost to create a continuous flow of environmentally-friendly compost to help your yard and garden be happy and healthy!
Full Circle’s Famous Humus-Based Compost
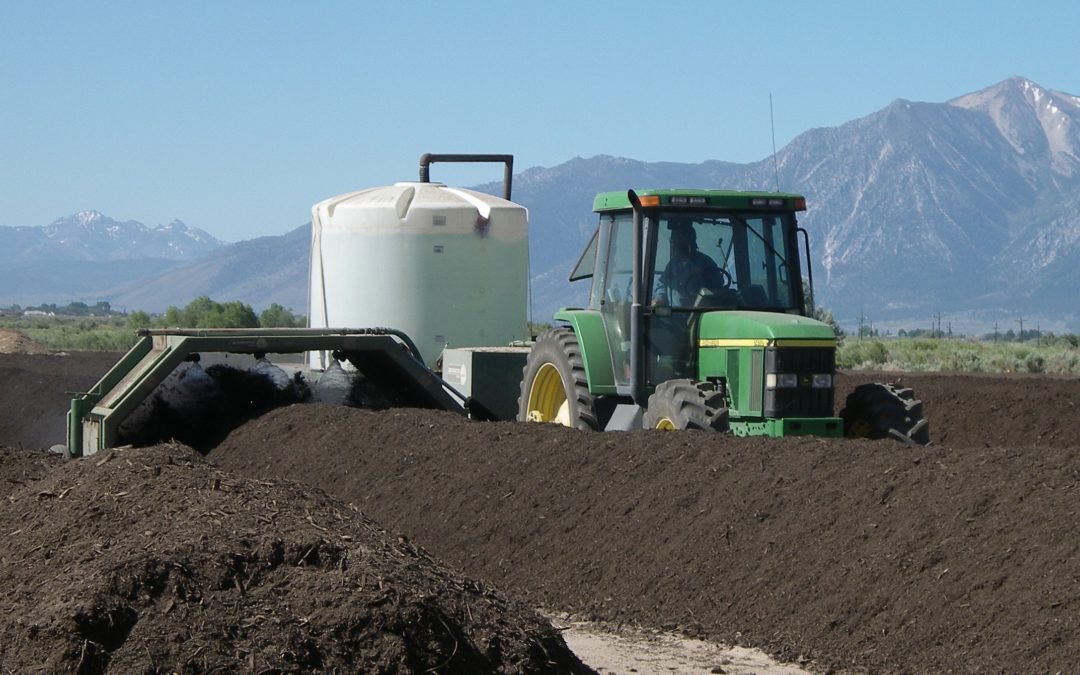
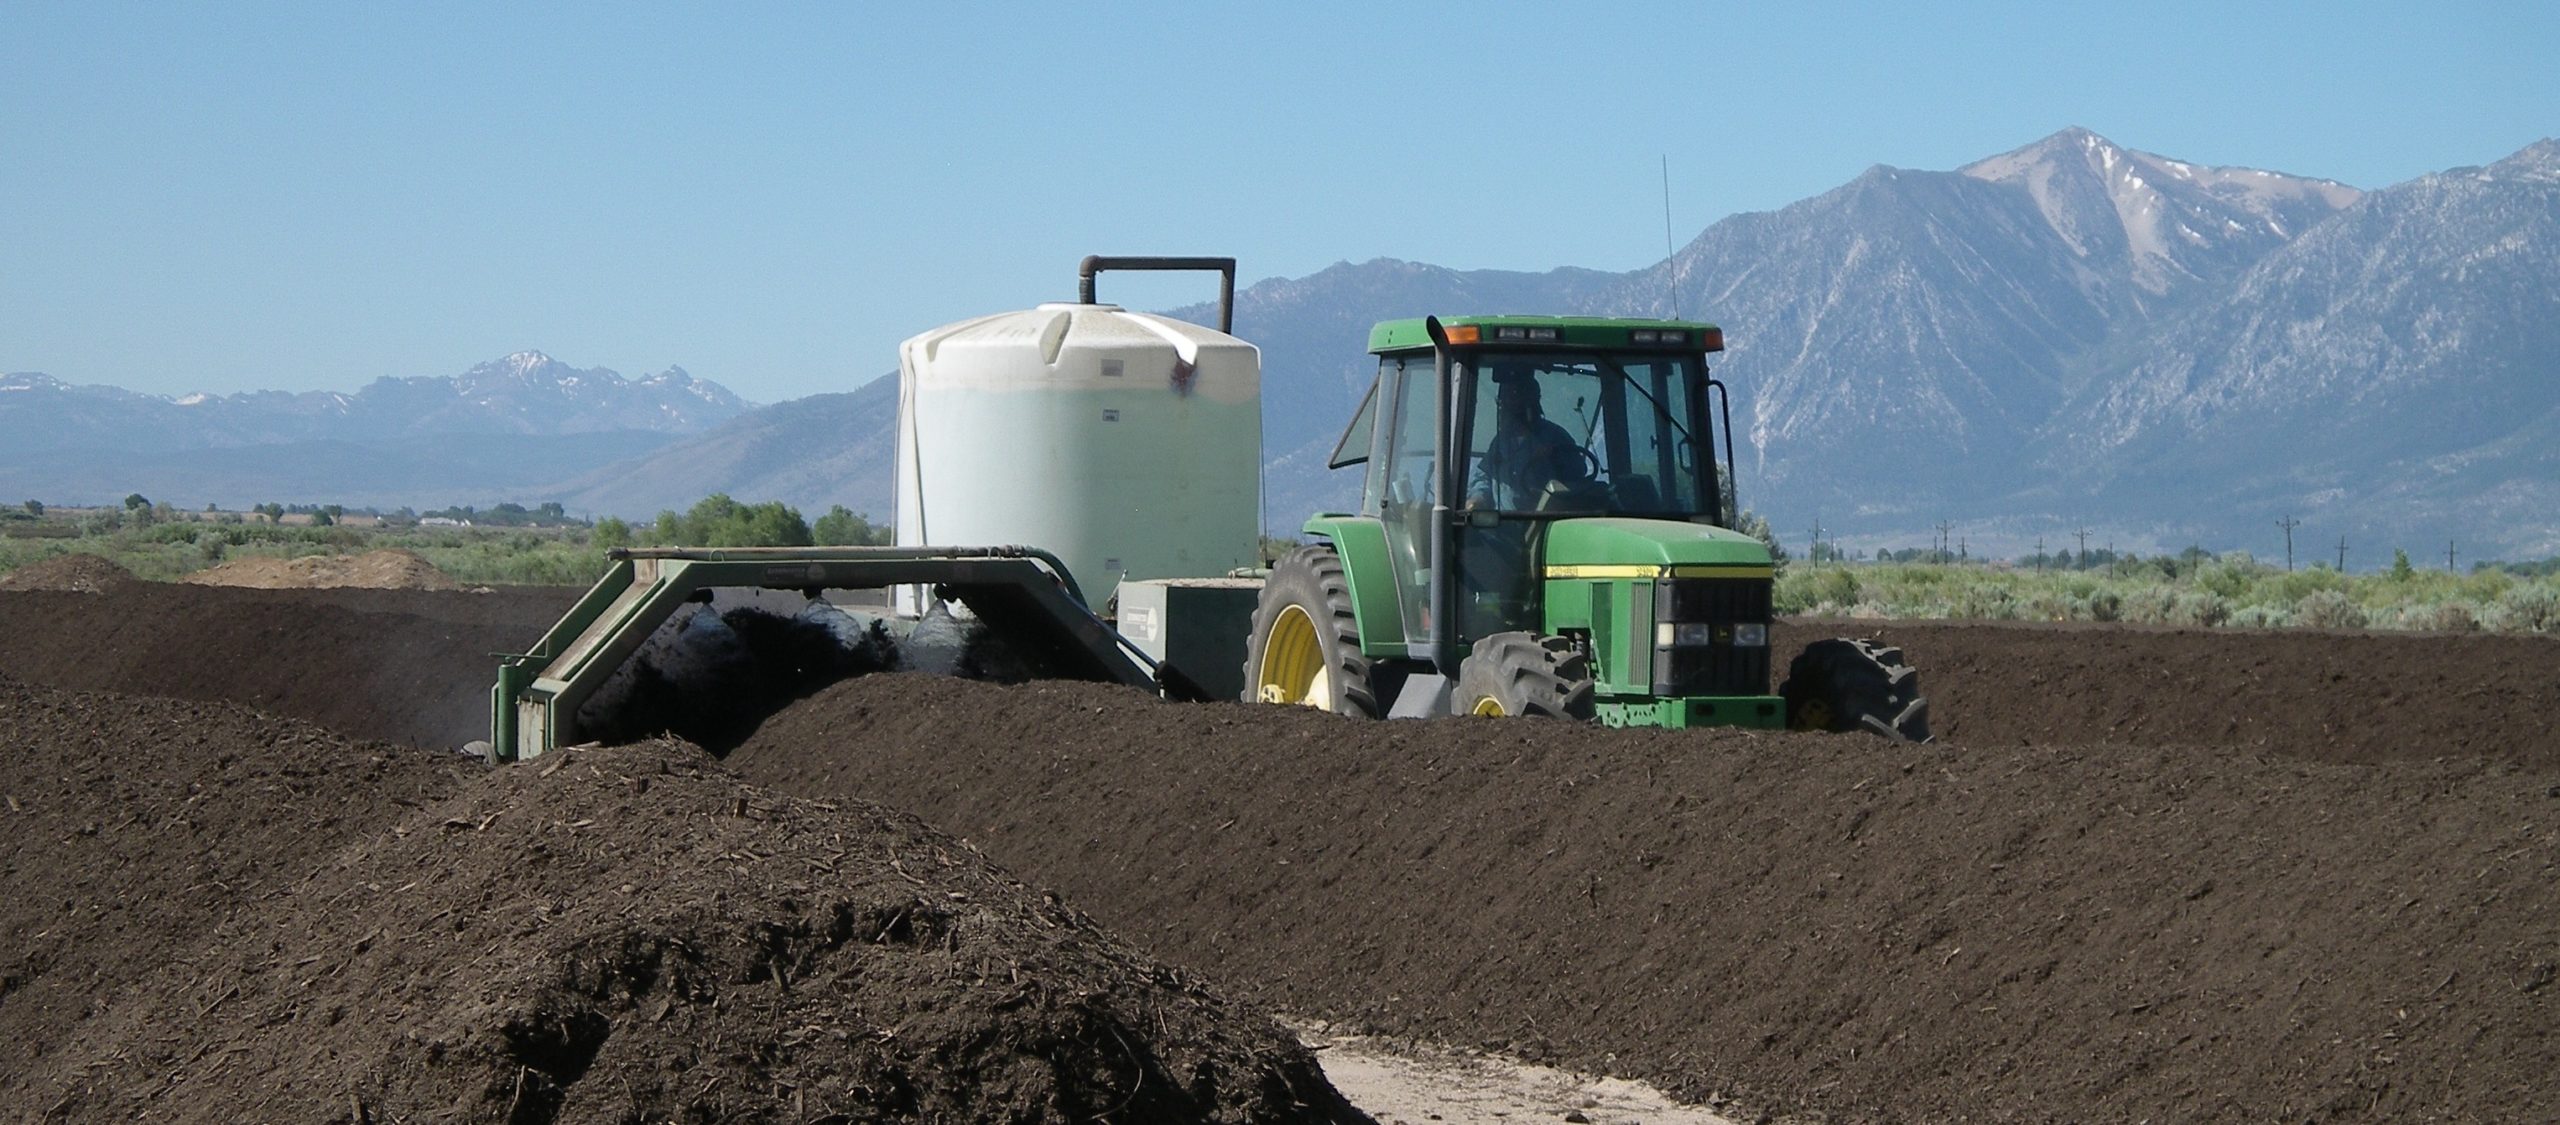
Before we get to the home composting how-to, let’s understand the famous humus-based compost that Full Circle is always composting up. This soil is amendment is tried and tested and has been used in the backyards, gardens, and agricultural fields in norther Nevada for years. We know how this composting thing works, and we’ll prove it to you.
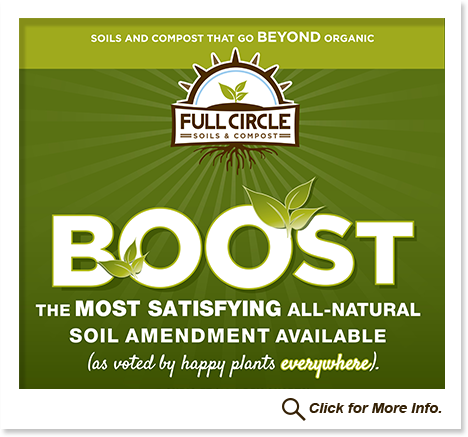
Our BOOST Soil Amendment is our premium humus based compost with a 100lb (20 ingredient) mineral and nutrient package specific to Nevada soils. You just spread BOOST at 1/4″ on everything, rake it out, and water it in.
- Use BOOST to seed, re-sod, or sod your lawn
- BOOST your garden, trees, and shrubs
- Give your flowers and landscape a BOOST
BOOST’s 20 ingredients soak deep into your soil and give every growing green in your yard the nutrients and energy it needs to flourish.
BOOST Ingredients:
-
Base Compost
-
Agricultural Gypsum
-
Agricultural Limestone
-
Solution Gypsum
-
Solution Limestone
-
Soft Rock Phosphate
-
Magnesium Sulfate
-
Manganese Sulfate
-
Molasses
-
Rock Powder Mineral Program
-
Humate
-
Mycorrhizae
-
Liquid Fish
-
Sulfur
-
Vermicompost
-
Compost Tea Brew
-
Kelp
-
Feather Meal
-
Iron Sulfate
-
Yucca Powder
Are You In NV and Want to Buy Boost Today?
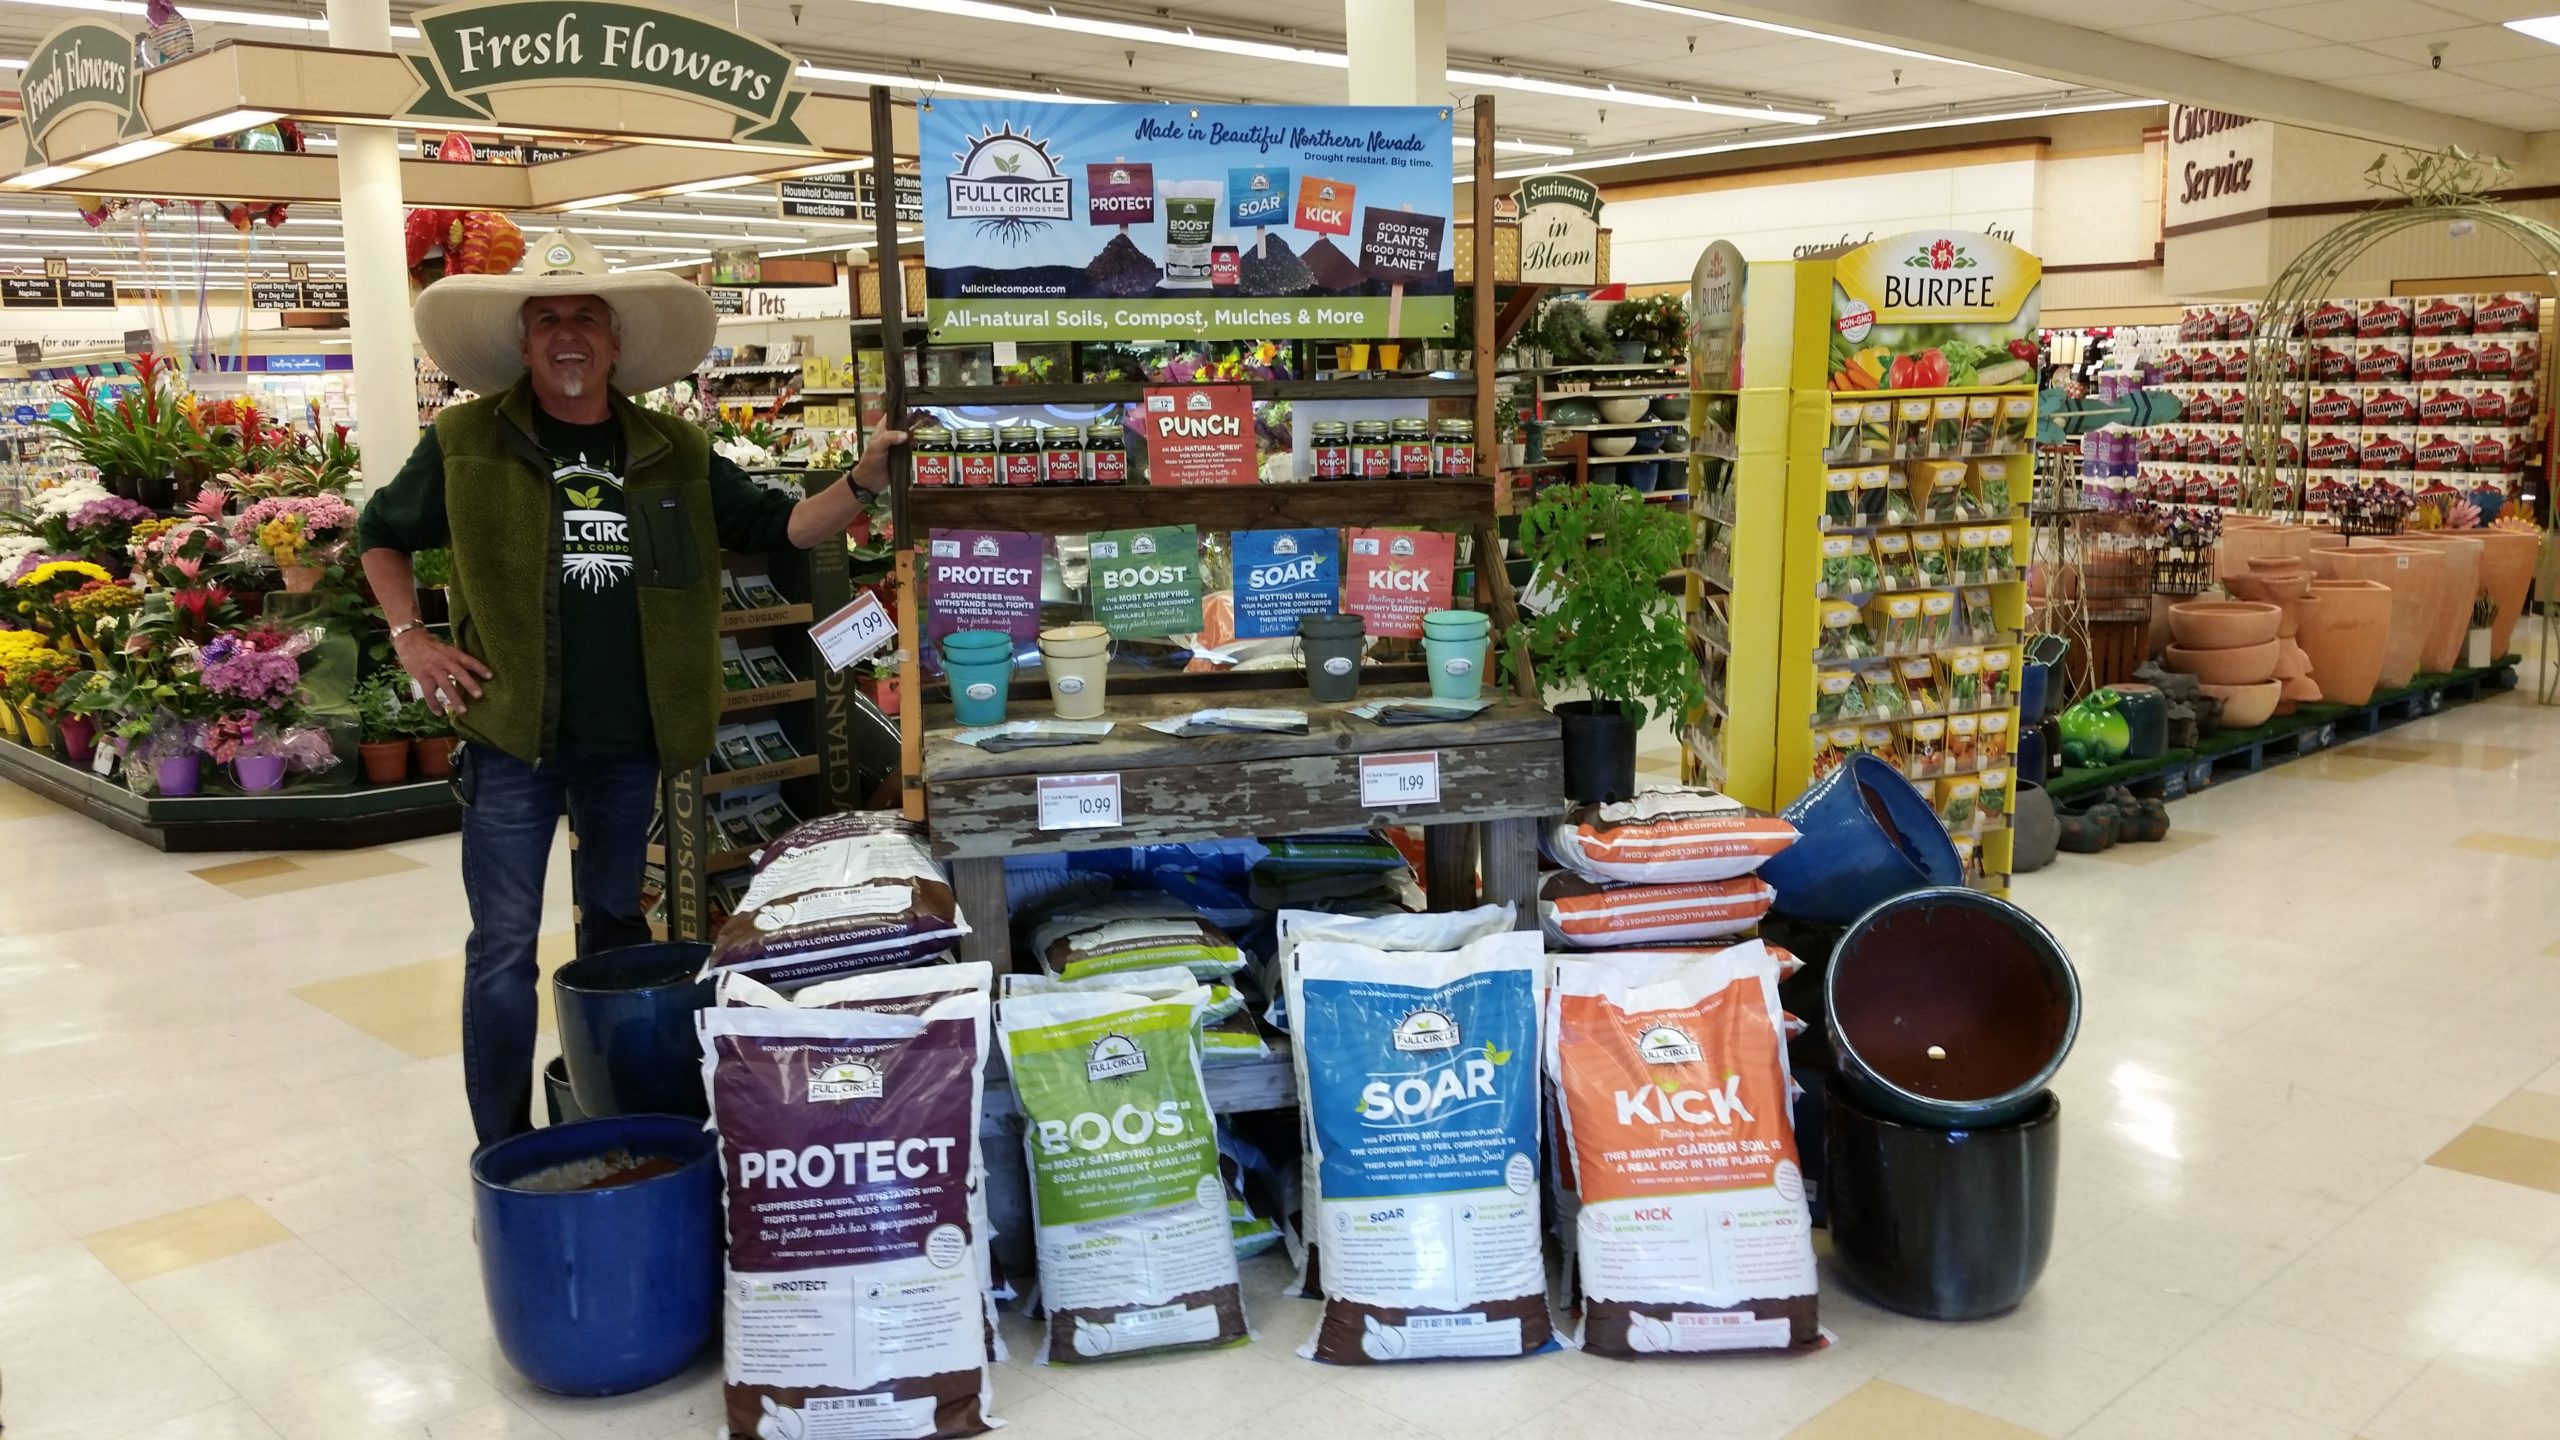
Full Circle Compost green gardening products are available at a variety of Northern Nevada locations. Find our products at your favorite locations!
The Basics of Composting
Now this is HUGE composting, but below you can learn to get similar results in your own backyard!
Understanding some composting basics will help you avoid the above issues. The 3-pile backyard compost system takes advantage of size, heat, process, and an easy way to keep track of finished material.
Stage 1
First, compost piles go through stages of growth and maturity. In the first stage, you are trying to build up microbial activity which results in increased temperatures. Depending on the size of your pile, recipe, how much you are turning and how hot you can get you pile, this may take a few weeks up to a month or more.
Stage 2
The second stage, is the “baking” stage where your pile is cooking away to compost perfection.
Stage 3
The third stage, your compost pile should be a mixture of materials that do not resemble their former selves, the heat has dropped, and your pile is done! Presto! “Let it rest stage”
Make Your Own Backyard Compost System
So how can you make the above three stages work with a nice 3 pile backyard compost system?

Great 3 bin compost system design
Each stage should be divided into separate compost piles that do not intermix. Keeping them separate and only adding “new materials” to Pile #1 is critical.
Let’s get to it!
Pile 1: Pile Up That Compost
Start one big compost pile. This may take you a while to build up the needed material to start the composting process.
Key Hint: the bigger the pile the better for building heat.
A minimum of 2 cubic yards (2, 3ft by 3ft by 3ft piles) is needed (only 1 cubic yard is needed to build heat; however, for the rest of the system to work, you need to start with 2 cubic yards).
Add your ingredients to the pile for about a month (or more if needed). Get it nice and big.
In this first stage, you do not need to worry about turning until you get up to a cubic yard of material. Once you have a good size pile, you need to start turning the pile and adding water once a week (this is very important in Pile #2 below).
Pile 2: Get That Compost Moving
After a month, you are going to move half of Pile #1 (1 cubic yard) to Pile #2 in the above diagram. This starts the cooking pile.
ONLY ADD NEW MATERIAL TO PILE #1. If you add material to Pile #2, it is like adding a raw egg to a cake that is already in the oven baking. Big no no. The reason we are moving half of the pile is that you still need materials, that are already composting, in Pile #1 so it speeds up the process when new materials are added. If you always start a new pile in Pile #1, you will have to start all over. Doing half lets you start with a base.
Keep adding your new materials as you get them to Pile #1 like regular and turning the first pile, but make sure you turn the second pile once a week as well. Your second pile should continue to cook and get plenty of air and water.
Turning Compost?
When we say turn, we mean get your hands in the dirt with a pitch fork (or small tractor) and turn that pile–for a whole month every week, or more! This is called aerobic composting (we go into this more in other blog posts).
The key to the best quality backyard compost is keeping it aerobic. Briefly, this means that microbes (the workers making your compost) are living things. They need food (the materials), water, and AIR!
You and I can’t survive without food, water, and air; healthy microbes need all this too. So turn, turn, turn that pile! While you turn, get the neighbor kid to spray a hose on the pile and soak that pile. Turning for air and adding water.
Pile 3: Turn and Turn and Turn Again
After another month (month 3, this is where real dedication and your biceps start looking good from so much turning), you are going to move all of Pile #2 out to your Pile #3 … the finishing pile.
This pile you let sit, ahhhhh! Turn it once in a while until you see that all the materials are broken down and the compost pile is cooling down.
Key Hint: If it’s getting cold, do not turn it. If it is really hot, it is still cranking so you gotta keep turning.
As you move Pile #2 to Pile #3, you will also be moving another new cubic yard of material from Pile #1 to Pile #2 (the system begins). You should be seeing (if you are turning regularly and adding water) noticeable differences in the breakdown of the materials from each pile. If the materials in Pile #3 still look like what they started as, the system is out of whack. You need to leave the materials in #1 and #2 longer (or call Full Circle Soils & Compost for consultation).
Because we start with 2 cubic yards in Pile #1, it will blend the stages together into one fluid composting love-fest over time. Once the systems starts working you will be building 2 cubic yards of material in Pile #1 while Piles #2 and #3 have 1 cubic yard each.
Continual backyard compost production for your yard and garden: 3 piles, 3 different stages, great compost!
** (Times will change depending on how much activity you are getting out of your piles, could take many moons to get finished compost).
DIY Composting: Get To It!
Here is a great 3-bin set up and design, double this size to use with the information in this blog. We are going big!
And that’s it!
Our Little Composting Secret
Secret: If your pile is off to a bad start with not much heat or activity happening, find a finished high quality compost (like BOOST) and add it to Pile #1 and #2. If the good compost is actually good compost (BOOST is reeeaalll good), then it will have microbes in it that will help your pile get the boost it needs to start cranking.
The soil science word for this is called inoculation. high quality compost tea, can also be sprayed onto the piles to increase microbial activity. You can make your own or get some pre-made compost tea that is packed with microbes! (Recipe is also very very very important. That will be covered soon).
Want Even More DIY Tips?
Gardening resources. Growing secrets. And home-gardening tips. Full Circle’s blog is full of every kind of information you could need to sprout your own home garden and compost your own green waster. Visit our blog and get those greens growing!