We’ve been posting a lot about sprouting your own seeds and how it’s done. At this point, you know it’s easy. So, what’s stopping you? Is it the task of heading down to your local nursery or hardware store to purchase a seed tray? Well, that excuse is about to fly out the window.
For a refresher video on starting seeds, click the link below (enjoy):
DIY Seed Starting Indoors
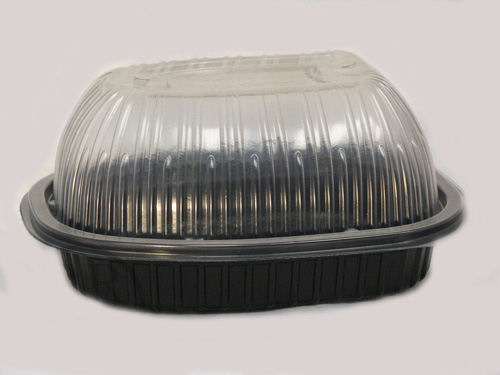
Now then, if you don’t have a seed-starting tray (or, you want to take the whole repurposing thing one step further), grab that plastic container from last night’s rotisserie chicken and let’s get planting. These rotisserie chicken containers make for perfect mini-terrariums to get seeds going nicely. The plastic lid helps keep the seeds humid while they sprout. We recommend cutting a small whole in the top of the container so the seeds don’t get TOO moist and potentially rot.
Next, you’ll need some “cells” if you’d like to keep your seeds separate AND make transplanting easier. You’re welcome to fill the entire floor of the chicken container with soil and place seeds in directly, but we find it easier to create our own cells, and for this we use dixie cups. Poke a few holes in the bottom of each cup to allow for drainage, fill with soil (we recommend SOAR) and place up to 10 seeds of the same plant type in each cup (only about 1/4” deep).
You can really now place the container anywhere the temperature will stay nice and consistently warm. Seeds feel the most inclined to sprout when they sense constantly warm temperatures. If your house is drafty, you can place them in a closet (they don’t need sunlight to sprout). Then, once they sprout, move them to an area where they can start soaking up some rays. Keep the container moist so those little guys get all the water they need in their young lives (everything else they’ll pull from the nutrients in SOAR and the sunlight).
It’s that easy. So, what’s stopping you? Happy sprouting.